Hey 🙂
In this blog post we’ll talk about Azure MySQL DB (free for Studentns from Microsoft Imagine Access aka: Dreamspark ) How to design it, Basic UWP todo demo \w/
In a previous blog post I talked about the DB creation process, how to obtain the DB info ( host name, username, password, connection string) And also how to connect it to a C# Console App.
Now we’ll continue assuming you have your DB info.
Design MySQL DB
We can use many tools to connect to the DB, but here we’ll use the official MySQL Workbench
MySQL Workbench can be downloaded from here along with the Connectors, What’s a Connector?
A Connector is the DB driver that you include in your project to be able to interact and connect to your DB through your application.
After Installing the Workbench with the default settings. We open it:
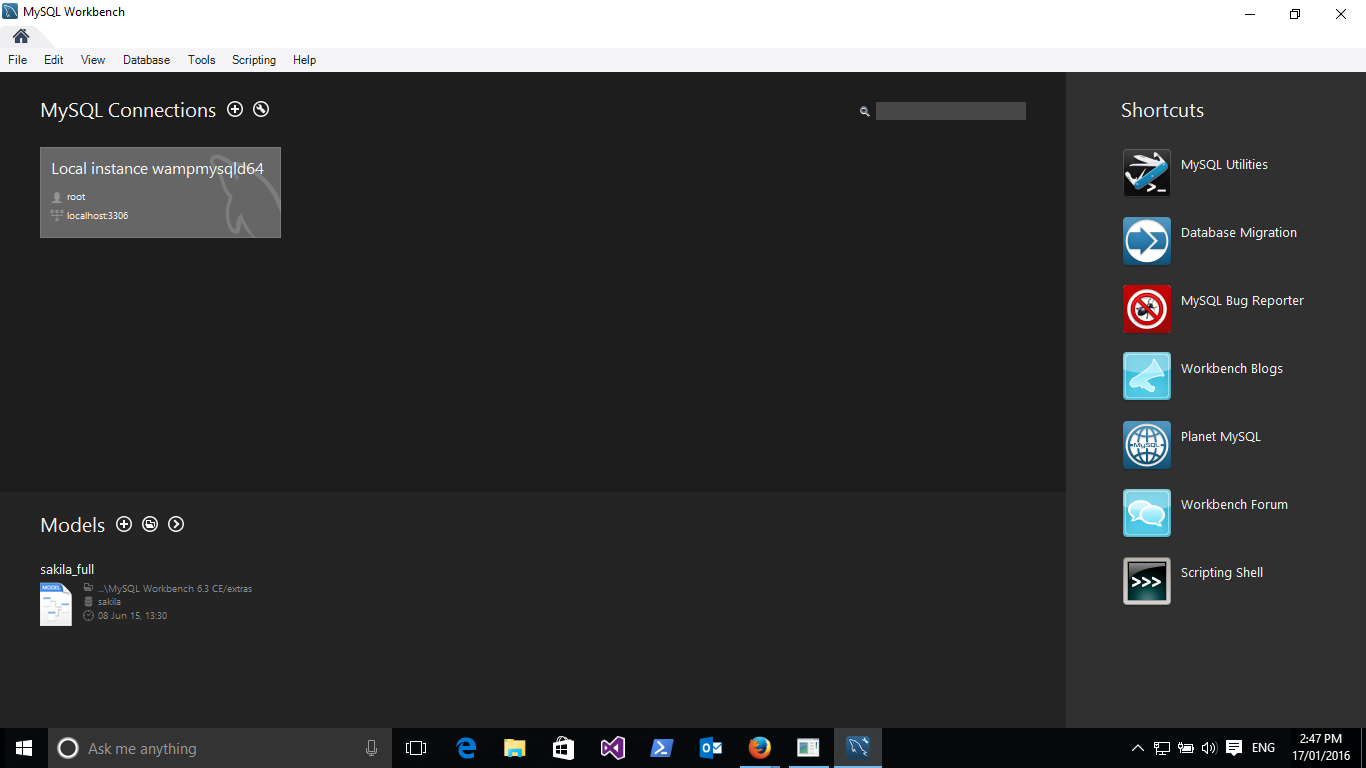
Then we click the Add button to add a new DB:

We insert the DB info then click Ok.
Now we click the New DB to establish a connection.

Here you can do whatever you want to your DB. let’s go and add a Table ( That’s what you will usually do 😀 )

Now we start adding the columns we need at our DB, in This case we’ll need only two columns:
- idtodo : INT, Primary Key, Not Null, Unique, Auto Incremental
- whatToDO: varchar(200)

And

Then we click apply, wait for a little bit then we review or add any SQL Script wee need, Then click Apply in the wizard.
Note:
You can see the script for creating the table, you can absolutely go and execute your script directly without having to walkthrough what I did here.

The table created successfully and ready to use!

UWP Demo (Basic Todo app)
Before we begin please note that the Dreamspark free MySQL is limited to 4 concurrently connections. So It will be optimal for your private use or for testing purposes.
What we’ll do?
- Create the UWP Project
- Reference the connector
- Implementing our MVVM (Model-View-ViewModel)
Creating the project
We click File -> New Project -> from the Installed List we click -> Visual C# ->Windows -> Universal -> then Pick the UWP Project: Blank App (Universal Windows)
Reference the connector

Then we click browse and go to the following path, Please note that the “Connector.NET 6.9” version might differ by the time you’re reading this so you should go and look it up yourself.
C:\Program Files (x86)\MySQL\Connector.NET 6.9\Assemblies\RT
We select the connector then we’re ready to go.
Implementing the MVVM
We’ll only create one page that contains a list of our Todo items, and a Text Box with a button to add the Text Box content as a new Todo.
Todo Model:
 public class Todo
    {
        public string whatToDO { get; set; }
        public Todo(string what)
        {
            whatToDO = what;
        }
    }
ViewModel (TodoViewModel.cs):
 public class TodoViewModel
    {
        private static TodoViewModel _todoViewModel = new TodoViewModel();
        private ObservableCollection<Todo> _allToDos = new ObservableCollection<Todo>();

        public ObservableCollection<Todo> AllTodos
        {
            get
            {
                return _todoViewModel._allToDos;
            }
        }

        public IEnumerable<Todo> GetTodos()
        {
            try
            {

                using (MySqlConnection connection = new MySqlConnection("YOUR CONNECTION STRING HERE"))
                {
                    connection.Open();
                    MySqlCommand getCommand = connection.CreateCommand();
                    getCommand.CommandText = "SELECT whatToDO FROM todo";
                    using (MySqlDataReader reader = getCommand.ExecuteReader())
                    {
                        while (reader.Read())
                        {
                            _todoViewModel._allToDos.Add(new Todo(reader.GetString("whatToDO")));
                        }
                    }
                }
            }
            catch(MySqlException)
            {
                // Handle it 🙂
            }
                return _todoViewModel.AllTodos;
        }

        public bool InsertNewTodo(string what)
        {
            Todo newTodo = new Todo(what);
            // Insert to the collection and update DB
            try
            {
                using (MySqlConnection connection = new MySqlConnection("YOUR CONNECTION STRING HERE"))
                {
                    connection.Open();
                    MySqlCommand insertCommand = connection.CreateCommand();
                    insertCommand.CommandText = "INSERT INTO todo(whatToDO)VALUES(@whatToDO)";
                    insertCommand.Parameters.AddWithValue("@whatToDO", newTodo.whatToDO);
                    insertCommand.ExecuteNonQuery();
                    _todoViewModel._allToDos.Add(newTodo);
                    return true;

                }
            }
            catch(MySqlException)
            {
                // Don't forget to handle it
                return false;
            }

        }


        public TodoViewModel()
        { }
What we did at GetTodos():
- Established the connection
- We opened it
- Initializing the command ( Query )
- Execute the command
- Read incoming values and initializing new Todo objects then adding it to our ObservableCollection for data binding later.
What we did at InsertNewTodo(string what):
- Started by creating new object of the Todo class & initialize it.
- Established the connection
- We opened the connection
- Initializing the command ( Query )
- Add the Query string
- Add any parameters to the Query
- Execute the command(Query)
- Add the new Todo to the ObservableCollection
public static TodoViewModel TODO_VIEW_MODEL = new TodoViewModel();MainPage.xaml Code:
Within the Main Grid:
<StackPanel Orientation="Vertical">
            <ListView x:Name="Todos">
                <ListView.ItemTemplate>
                    <DataTemplate>
                        <StackPanel>
                            <TextBlock FontSize="25" Text="{Binding whatToDO}"/>
                        </StackPanel>
                    </DataTemplate>
                </ListView.ItemTemplate>
            </ListView>
            <TextBox x:Name="NewTodoTxtBox" FontSize="25" Header="New Todo:"/>
                <Button x:Name="InsertTodoBtn" Click="InsertTodoBtn_Click" Content="Insert New Todo"
                 Margin="0,20,0,0"/>
</StackPanel>
MainPage Code-Behind(within MainPage Class):
 public MainPage()
        {
            this.InitializeComponent();
        }

        private void InsertTodoBtn_Click(object sender, RoutedEventArgs e)
        {
            // Try the the View Model insertion and check externally for result
            App.TODO_VIEW_MODEL.InsertNewTodo(NewTodoTxtBox.Text);
        }

        protected override void OnNavigatedTo(NavigationEventArgs e)
        {
            Todos.ItemsSource = App.TODO_VIEW_MODEL.GetTodos();
        }
We’re done!

Download the full sample from here.
